Make your own Sun Print (cyanotype)
Hello! Thank you for coming to Sophie’s birthday!!
I’m a huge fan of old photographic processes and I happened to have cyanotype solution in my cupboard and I thought it would be lovely to paint up some pages for you to create sun prints at home with your children.
This is so easy and joyful to do, and I’ve already done the first step so you don’t need to worry about applying the cyanotype solution itself.
In the kit itself is cardboard (to block the light hitting it whilst it was in the envelope), a 6×4 watercolour page coated with sensitiser and some small scraps to test and play with first.
What you need:
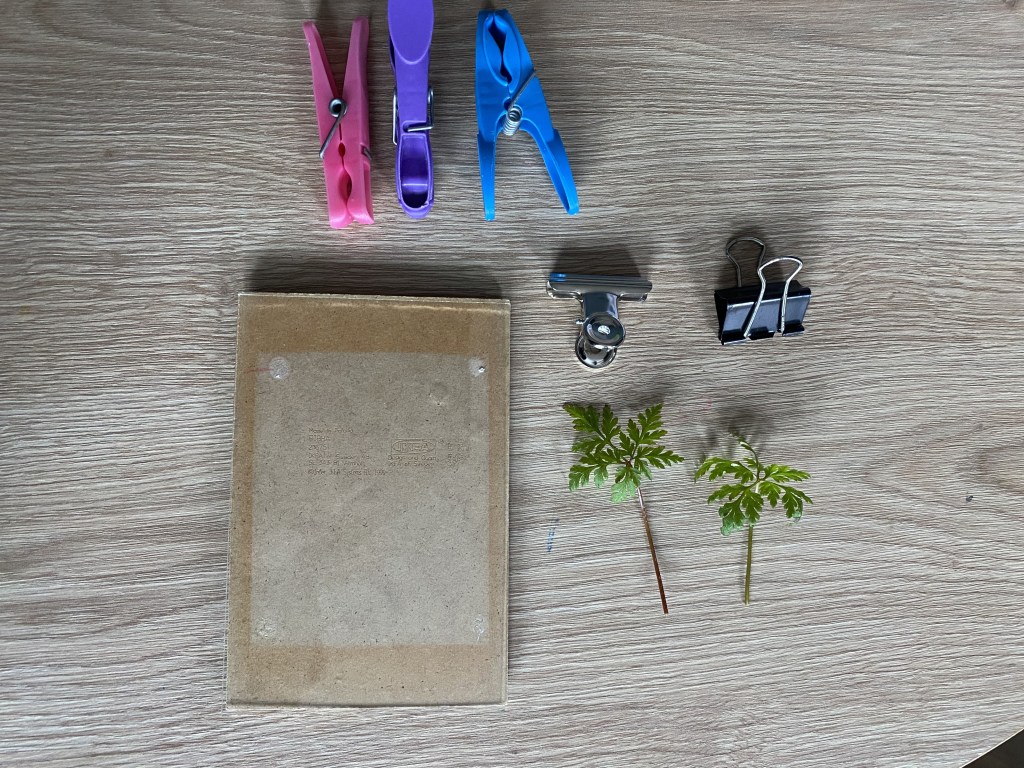
- What you want to expose – this can be anything! Feathers, objects, nature, fabric, a negative etc. The thinner the object the better as the sun can shine through it and create interesting contrast.
- A picture frame – not the frame itself, just the glass and the back. You are going to sandwich the object in between the glass and back so that it doesn’t move during the exposure. Picture frames are easiest to do this but you can use cardboard and clingfilm – the clingfilm will create interesting patterns as well. If it’s a really still day and the nature is unlikely to be moved, you just use a base without the glass
- Clips or clothes pegs to hold the glass in place
- Sink or container that can be filled with water
- Washing line to hang to dry after washing
- Daylight
Step 1:
Go to the garden or on a walk and if you are using nature pick what you’d like to expose and bring it indoors
Step 2:
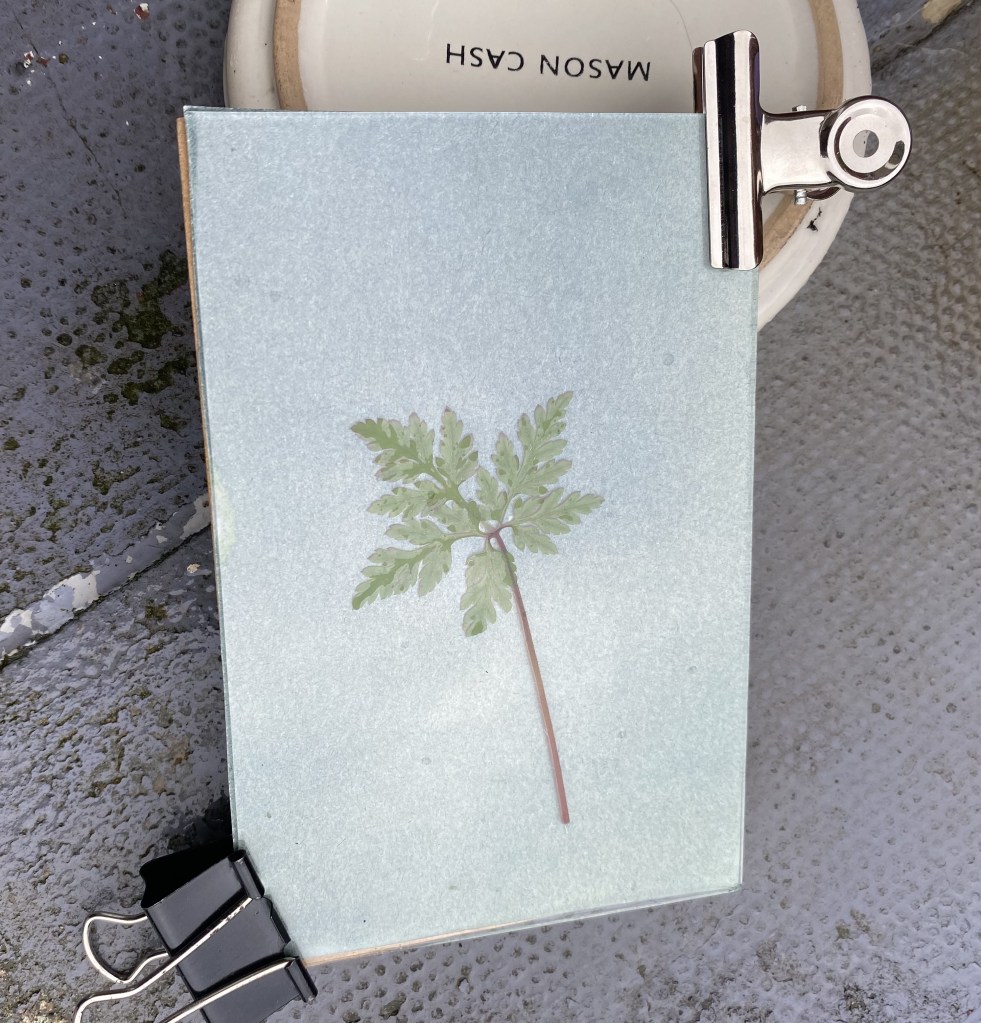
Do this out of direct sunlight or a darker room. Lift out the paper from the envelope and place on the back of the frame and place nature on top. You can place multiple objects at the same time. The moment the paper is in daylight it is already beginning to expose so you may want to plan how you want to place it before you lift out the paper. The paper is 6×4 which is standard frame size.
Place the glass on top and secure with clips – parents do this step in case the glass should snap if what you have placed is bulky and clip adds too much pressure
** you’ll see in my example that I used a 6×4 frame – ideally you’ll want to use a bigger frame just to avoid leaving clip marks on the exposure. Personally it doesn’t bother me but just keep in mind that whatever is within the ‘exposure frame’ is going to get exposed**

Step 3:
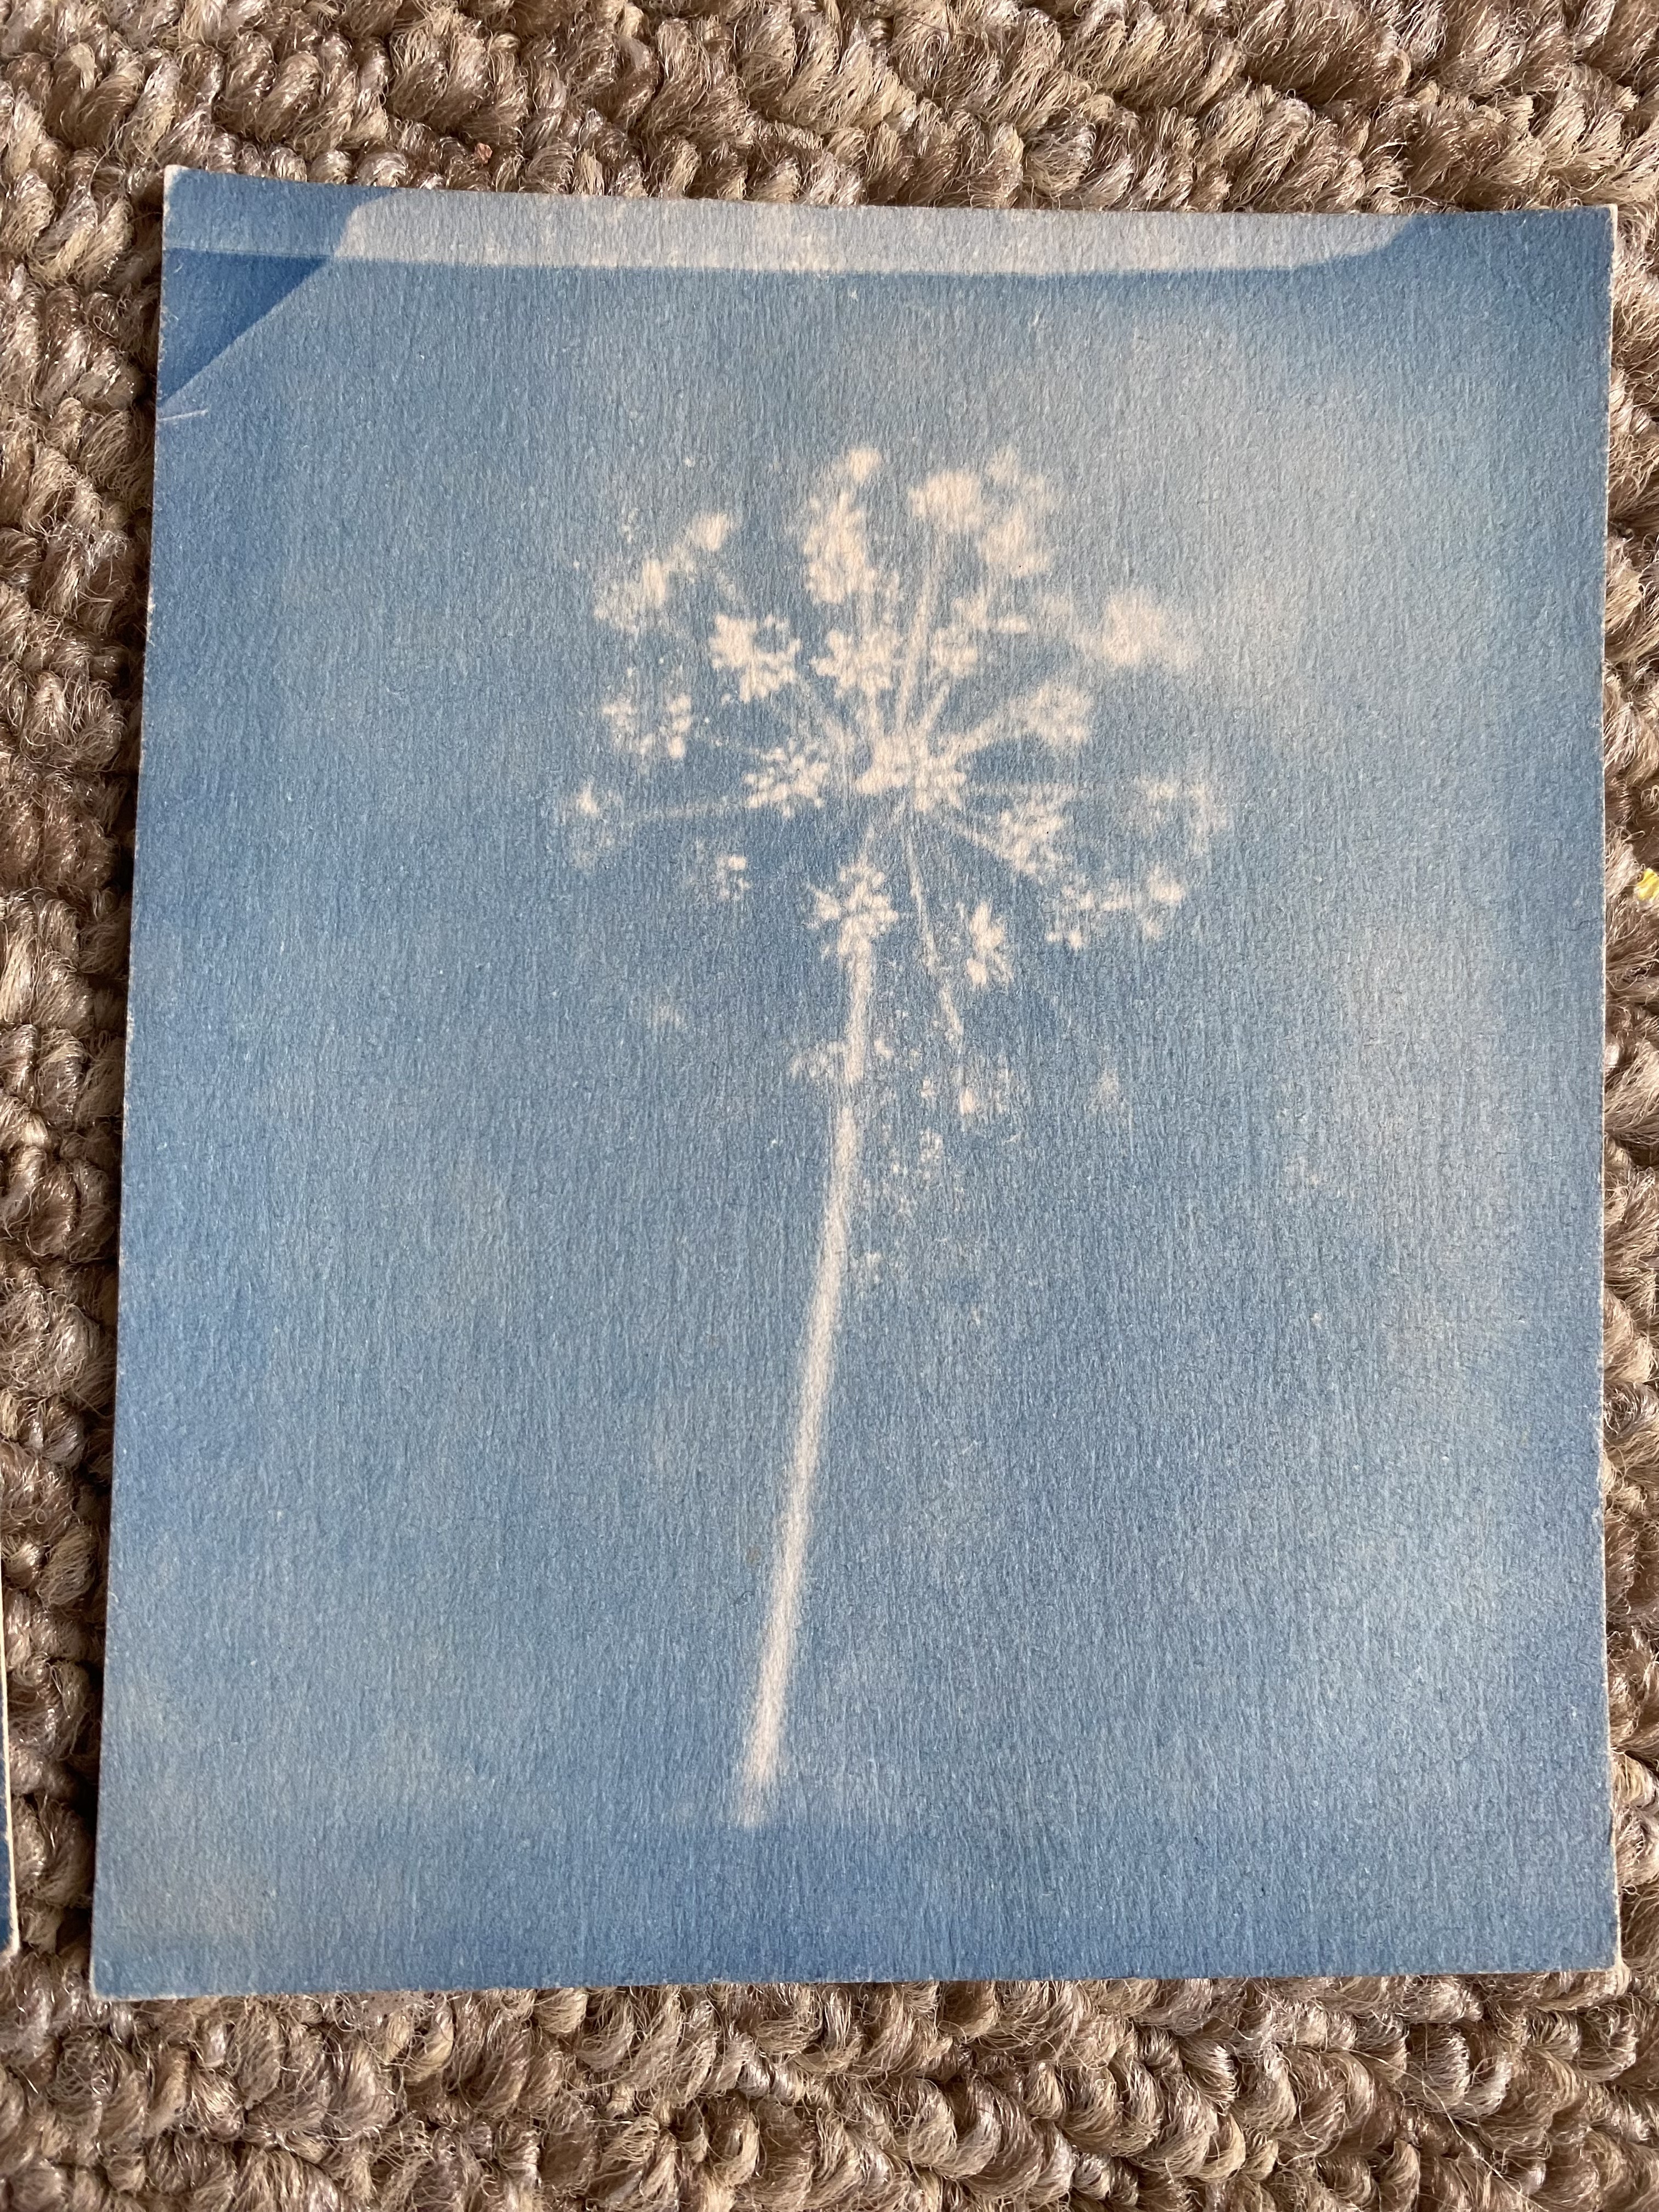
Place outside. Today is rainy and cloudy so I sent this outside for approx 15mins and to be honest I could have let it sit out there for much longer. On a cloudy day it can sit outside for quite a while. On a bright blue sky day, you will literally see the paper turn in front of you can can lift it after three minutes although the longer it sits the deeper the blue. On bright blue sky days watch your shadow as you watch it expose as you may expose your own shadow onto the paper – although how fun would that be!
This is is 15 mins later with raindrops lol

Step 4:
Bring indoors to a sink or container. The print will keep exposing until it enters water so have your container ready or set the sun print in the dark till you do this
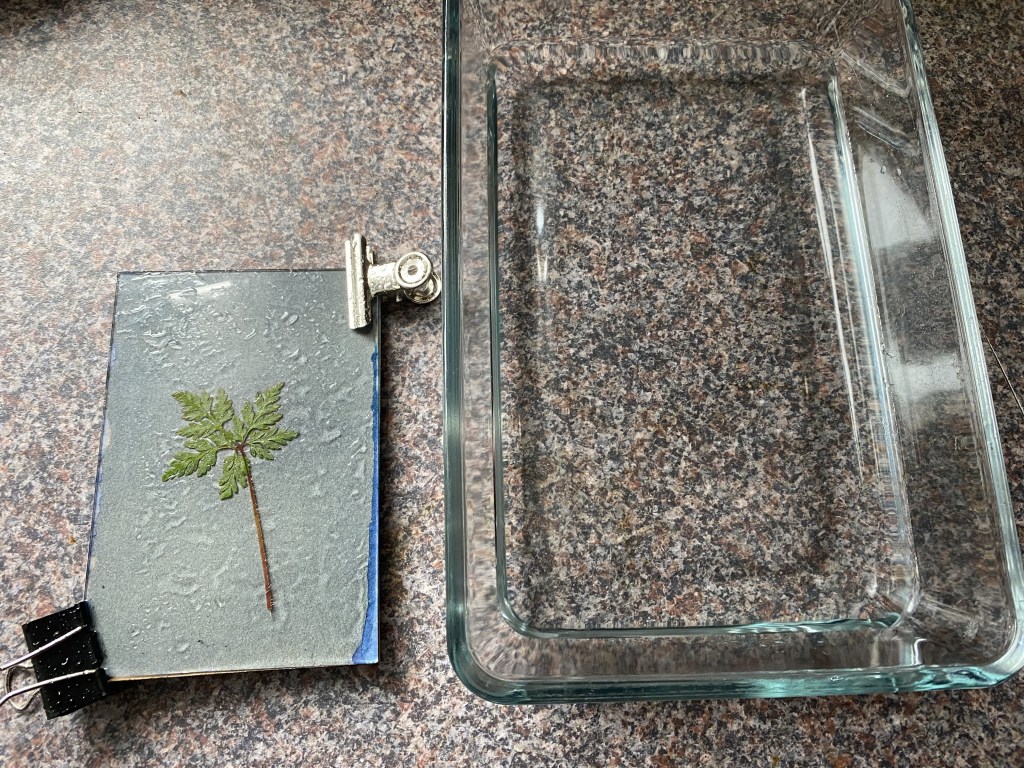
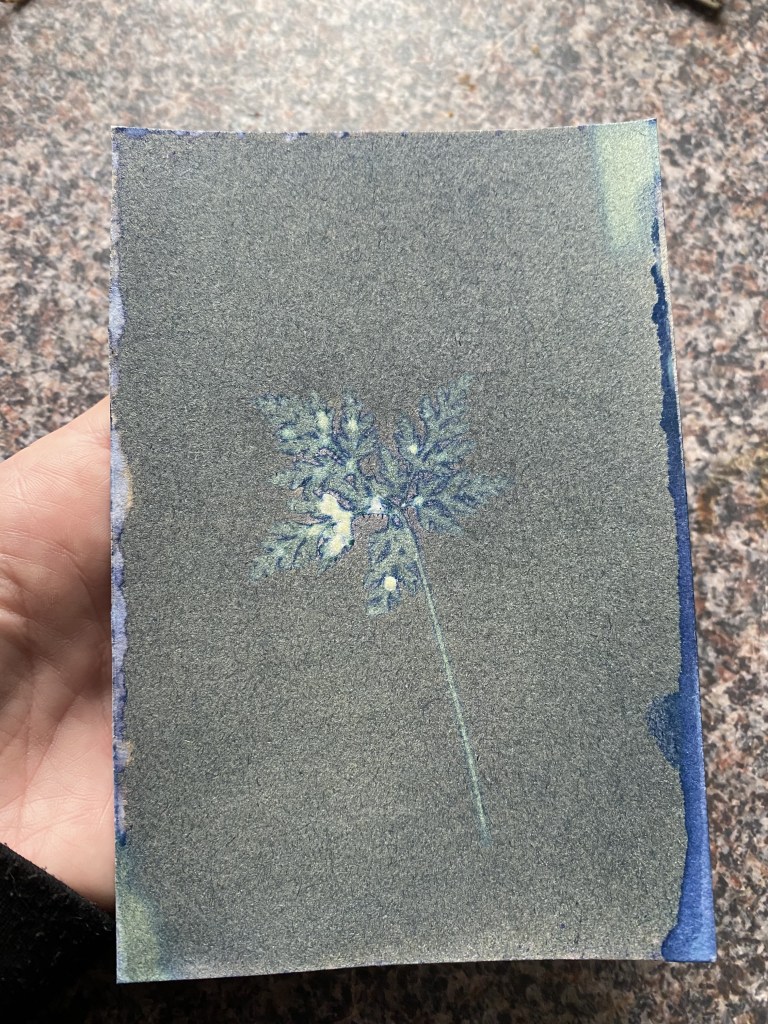
You can see a clear outline before I put it in the water
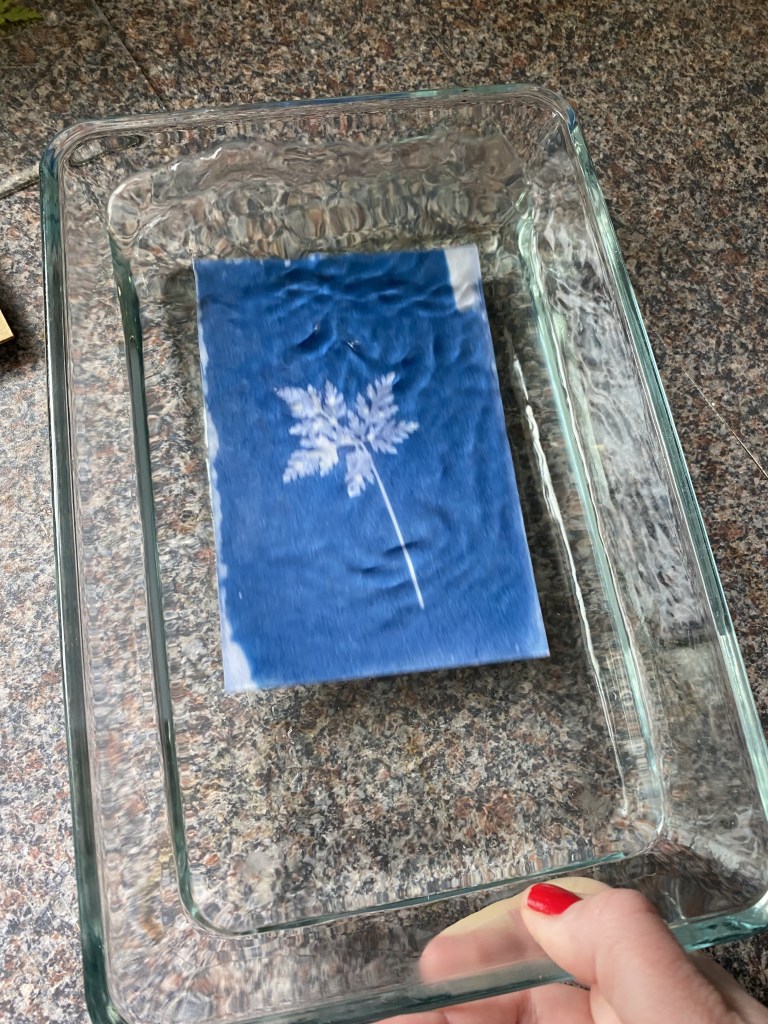
Move in the water and you’ll see the blue appear and the green wash away. You may want to turn the paper within the water to make sure it gets a good wash. Wash for around 5 minutes. You don’t want any of the sensitiser solution that I coated the paper with to remain on the print so you may want to change the water and do this twice.

Step 5:
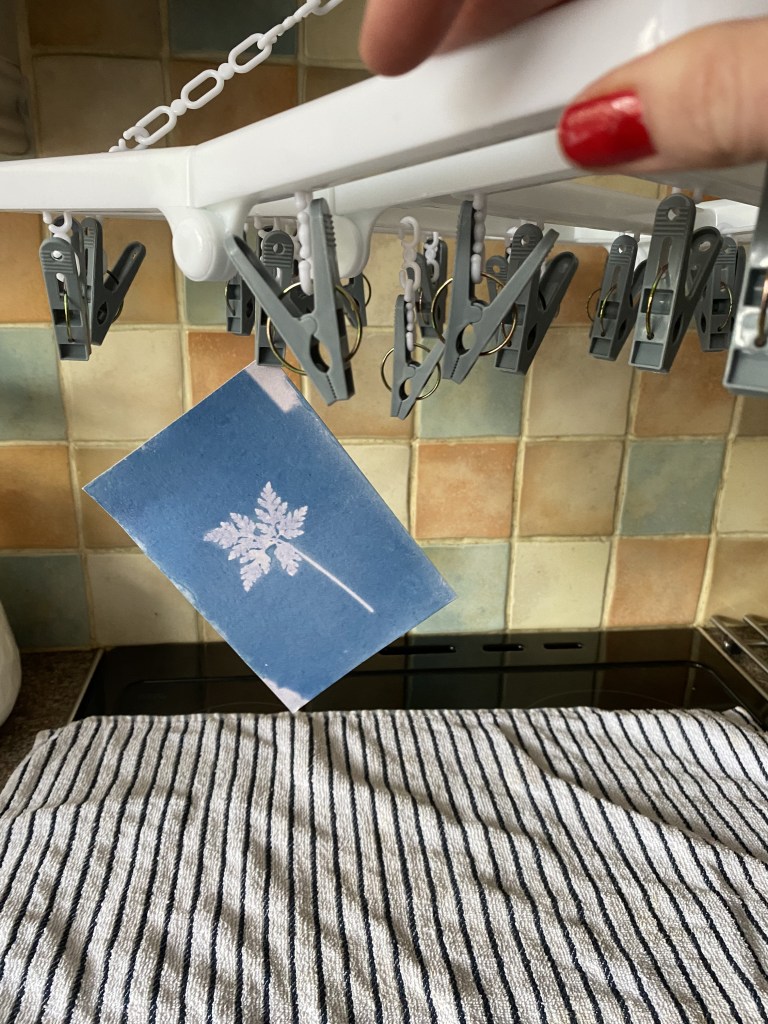
Now hang to dry. I hung mine indoors due to the rain so place a tea towel underneath. On a good day you can hang on the washing line. And that’s it!!
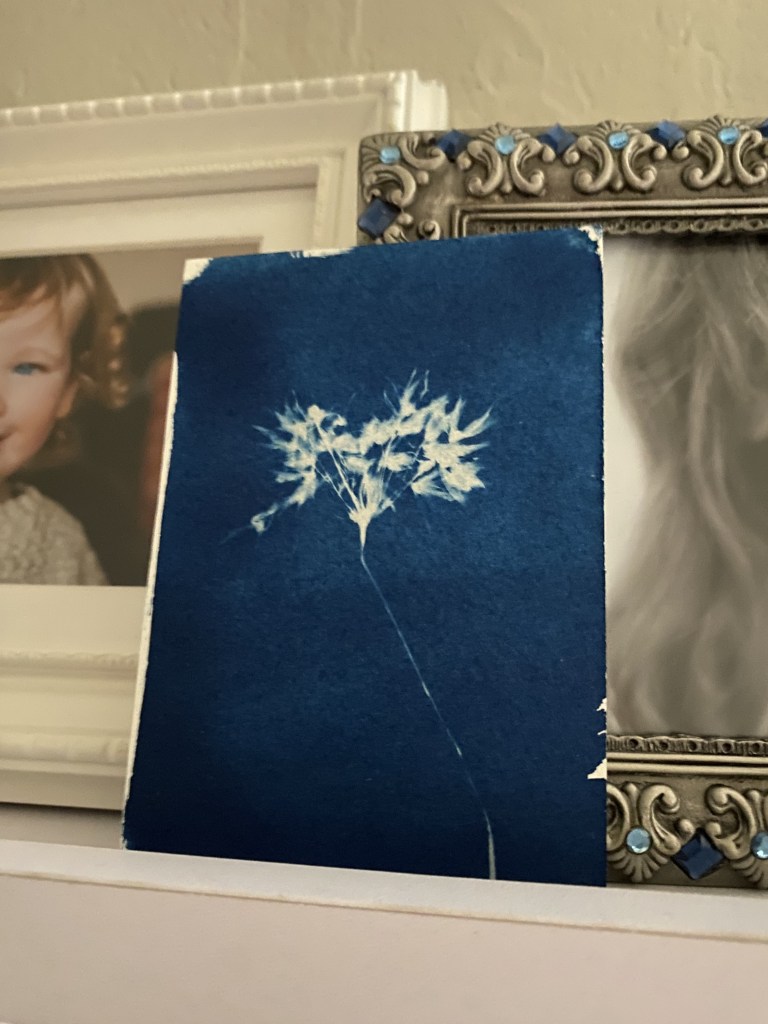
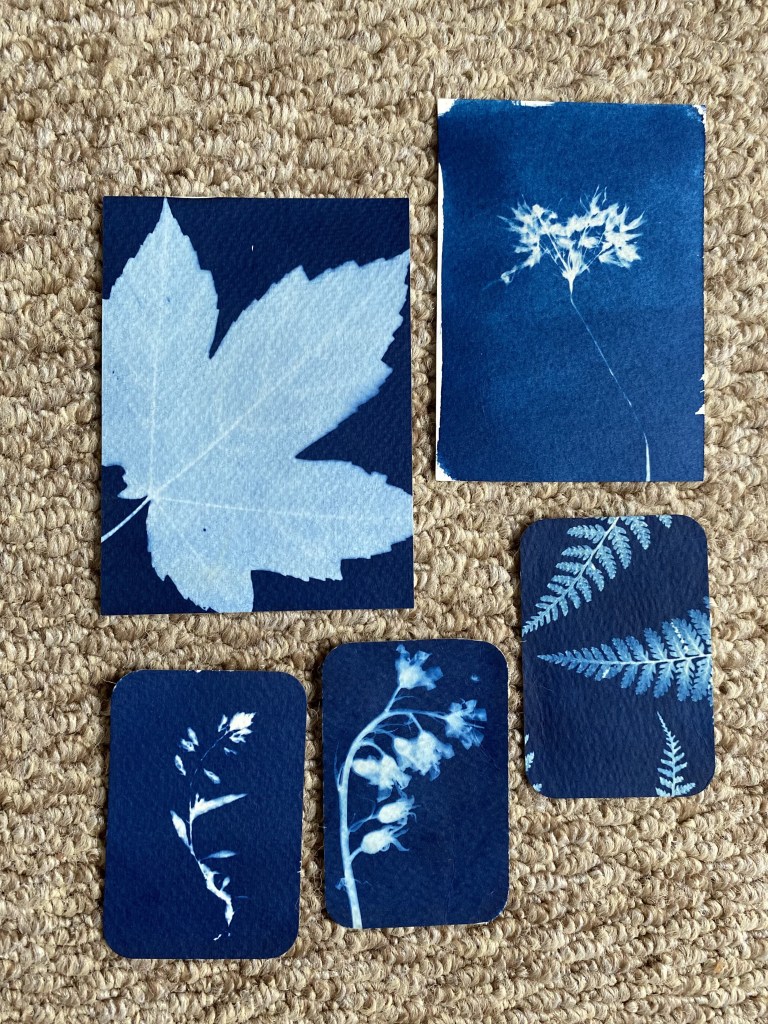
Have fun!! Mine was a lighter shade of blue as I didn’t keep it outdoors for too long but you can get all shades of blue. The longer it’s exposed to bright light, the better the print.
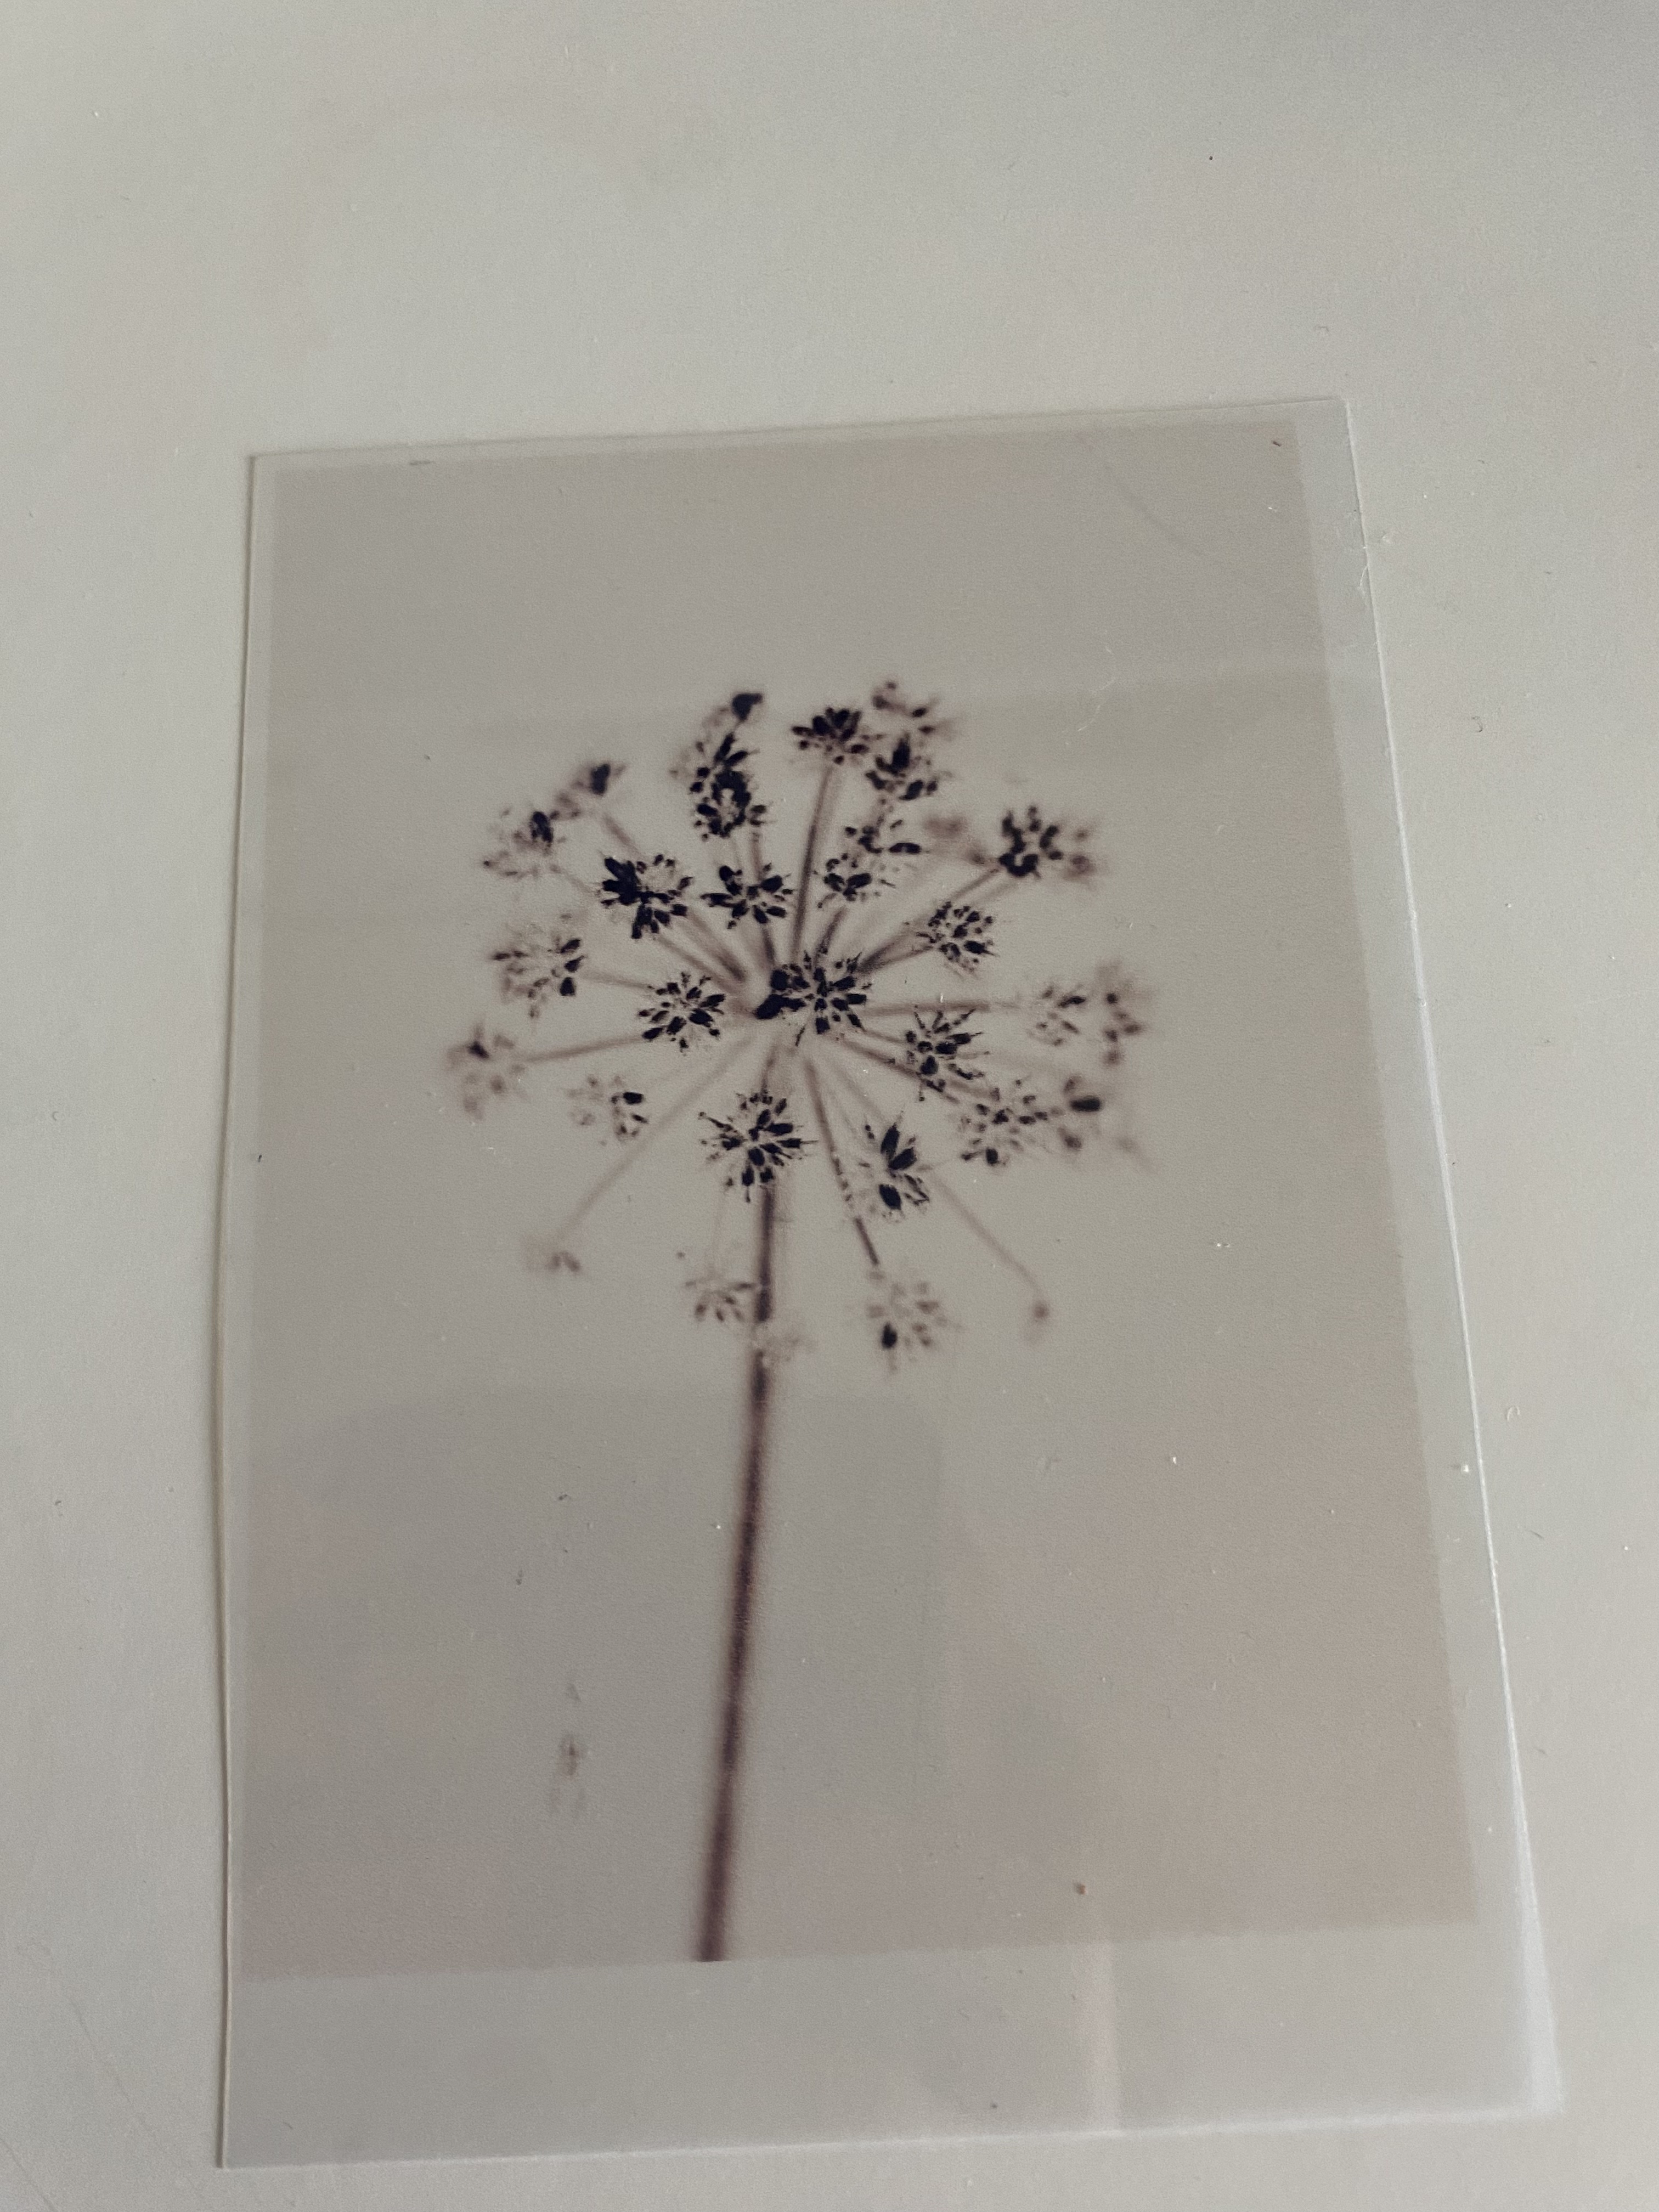
This is an example of a print from a negative. This was done in winter so was exposed for 14 mins on a cloudy day.
This was an exposure of bluebells but before I put the glass on top to secure it, I sprinkled spices into the corners and sprayed it with water to create interesting patterns. The sky is the limit.

Have fun and let us know how you get on!!
P.S Here is the instructions from the kit if they are helpful too, just ignore steps 1-3

Carly and Sophie xo
